


Welcome

Oh, Hey!
I’m Nickell (pronounced Knee-Kell), but you can call me Kell! I’m a woman of God, a wife, a mother, and I love creating a space filled with organization, style, and functionality. You can catch me wrangling my 4 kids most of the day, tending to my plants (I’m obsessed!), or spending time with my husband. I’m so glad you found my little slice of the internet where I keep it real. Life isn’t perfect. It’s messy… let’s navigate it together.
Search the Blog
Follow me on Instagram
All Posts
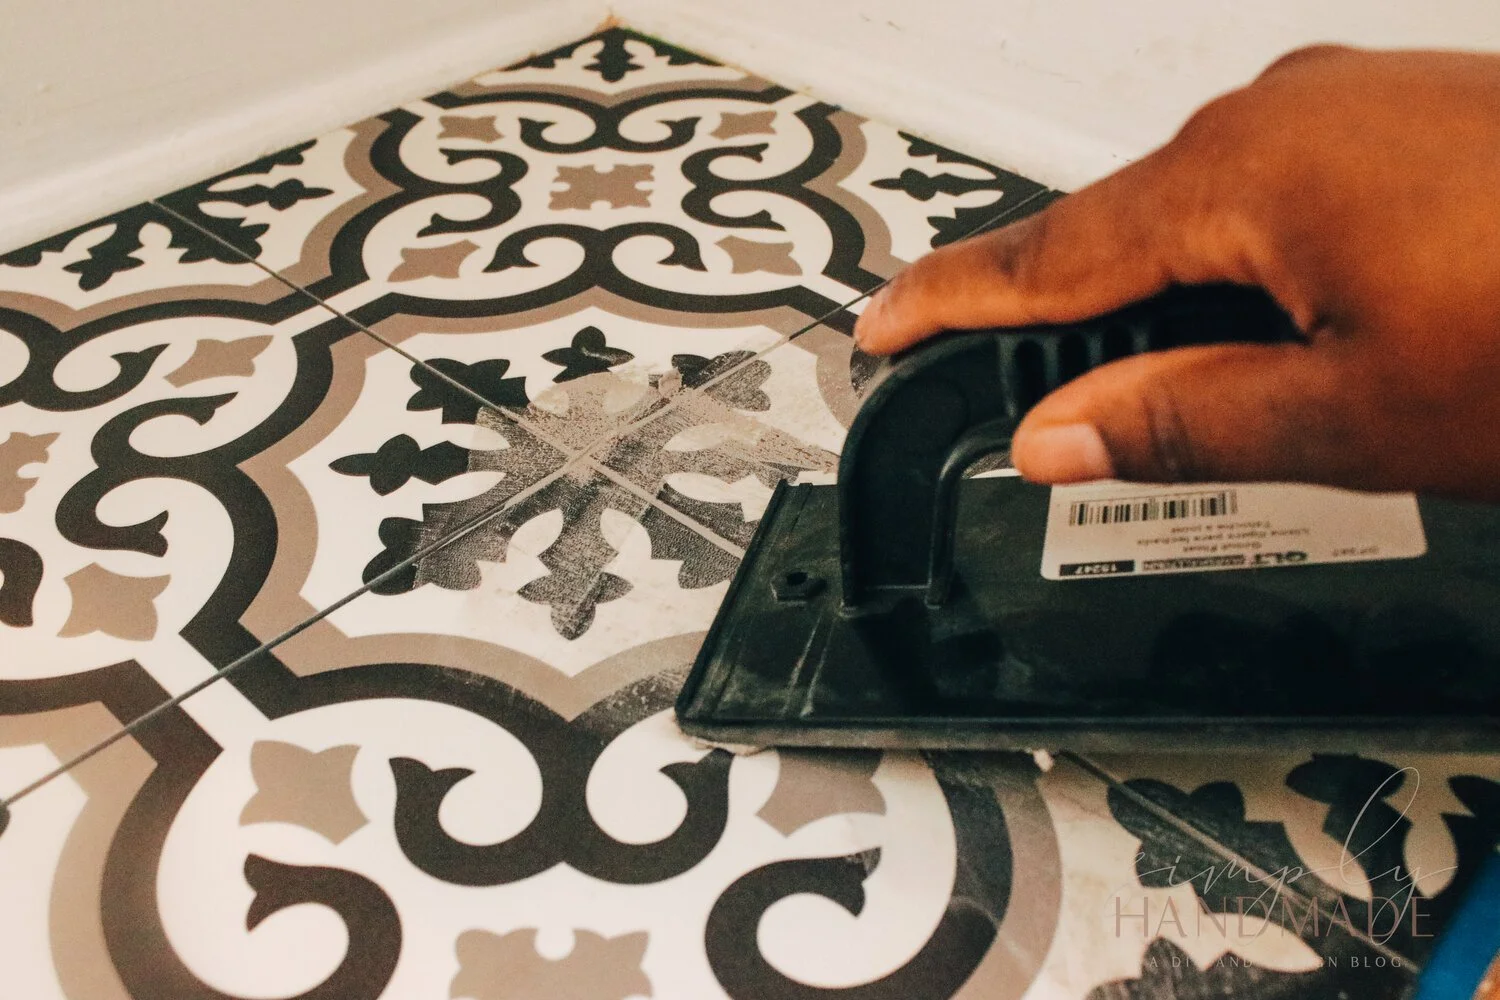
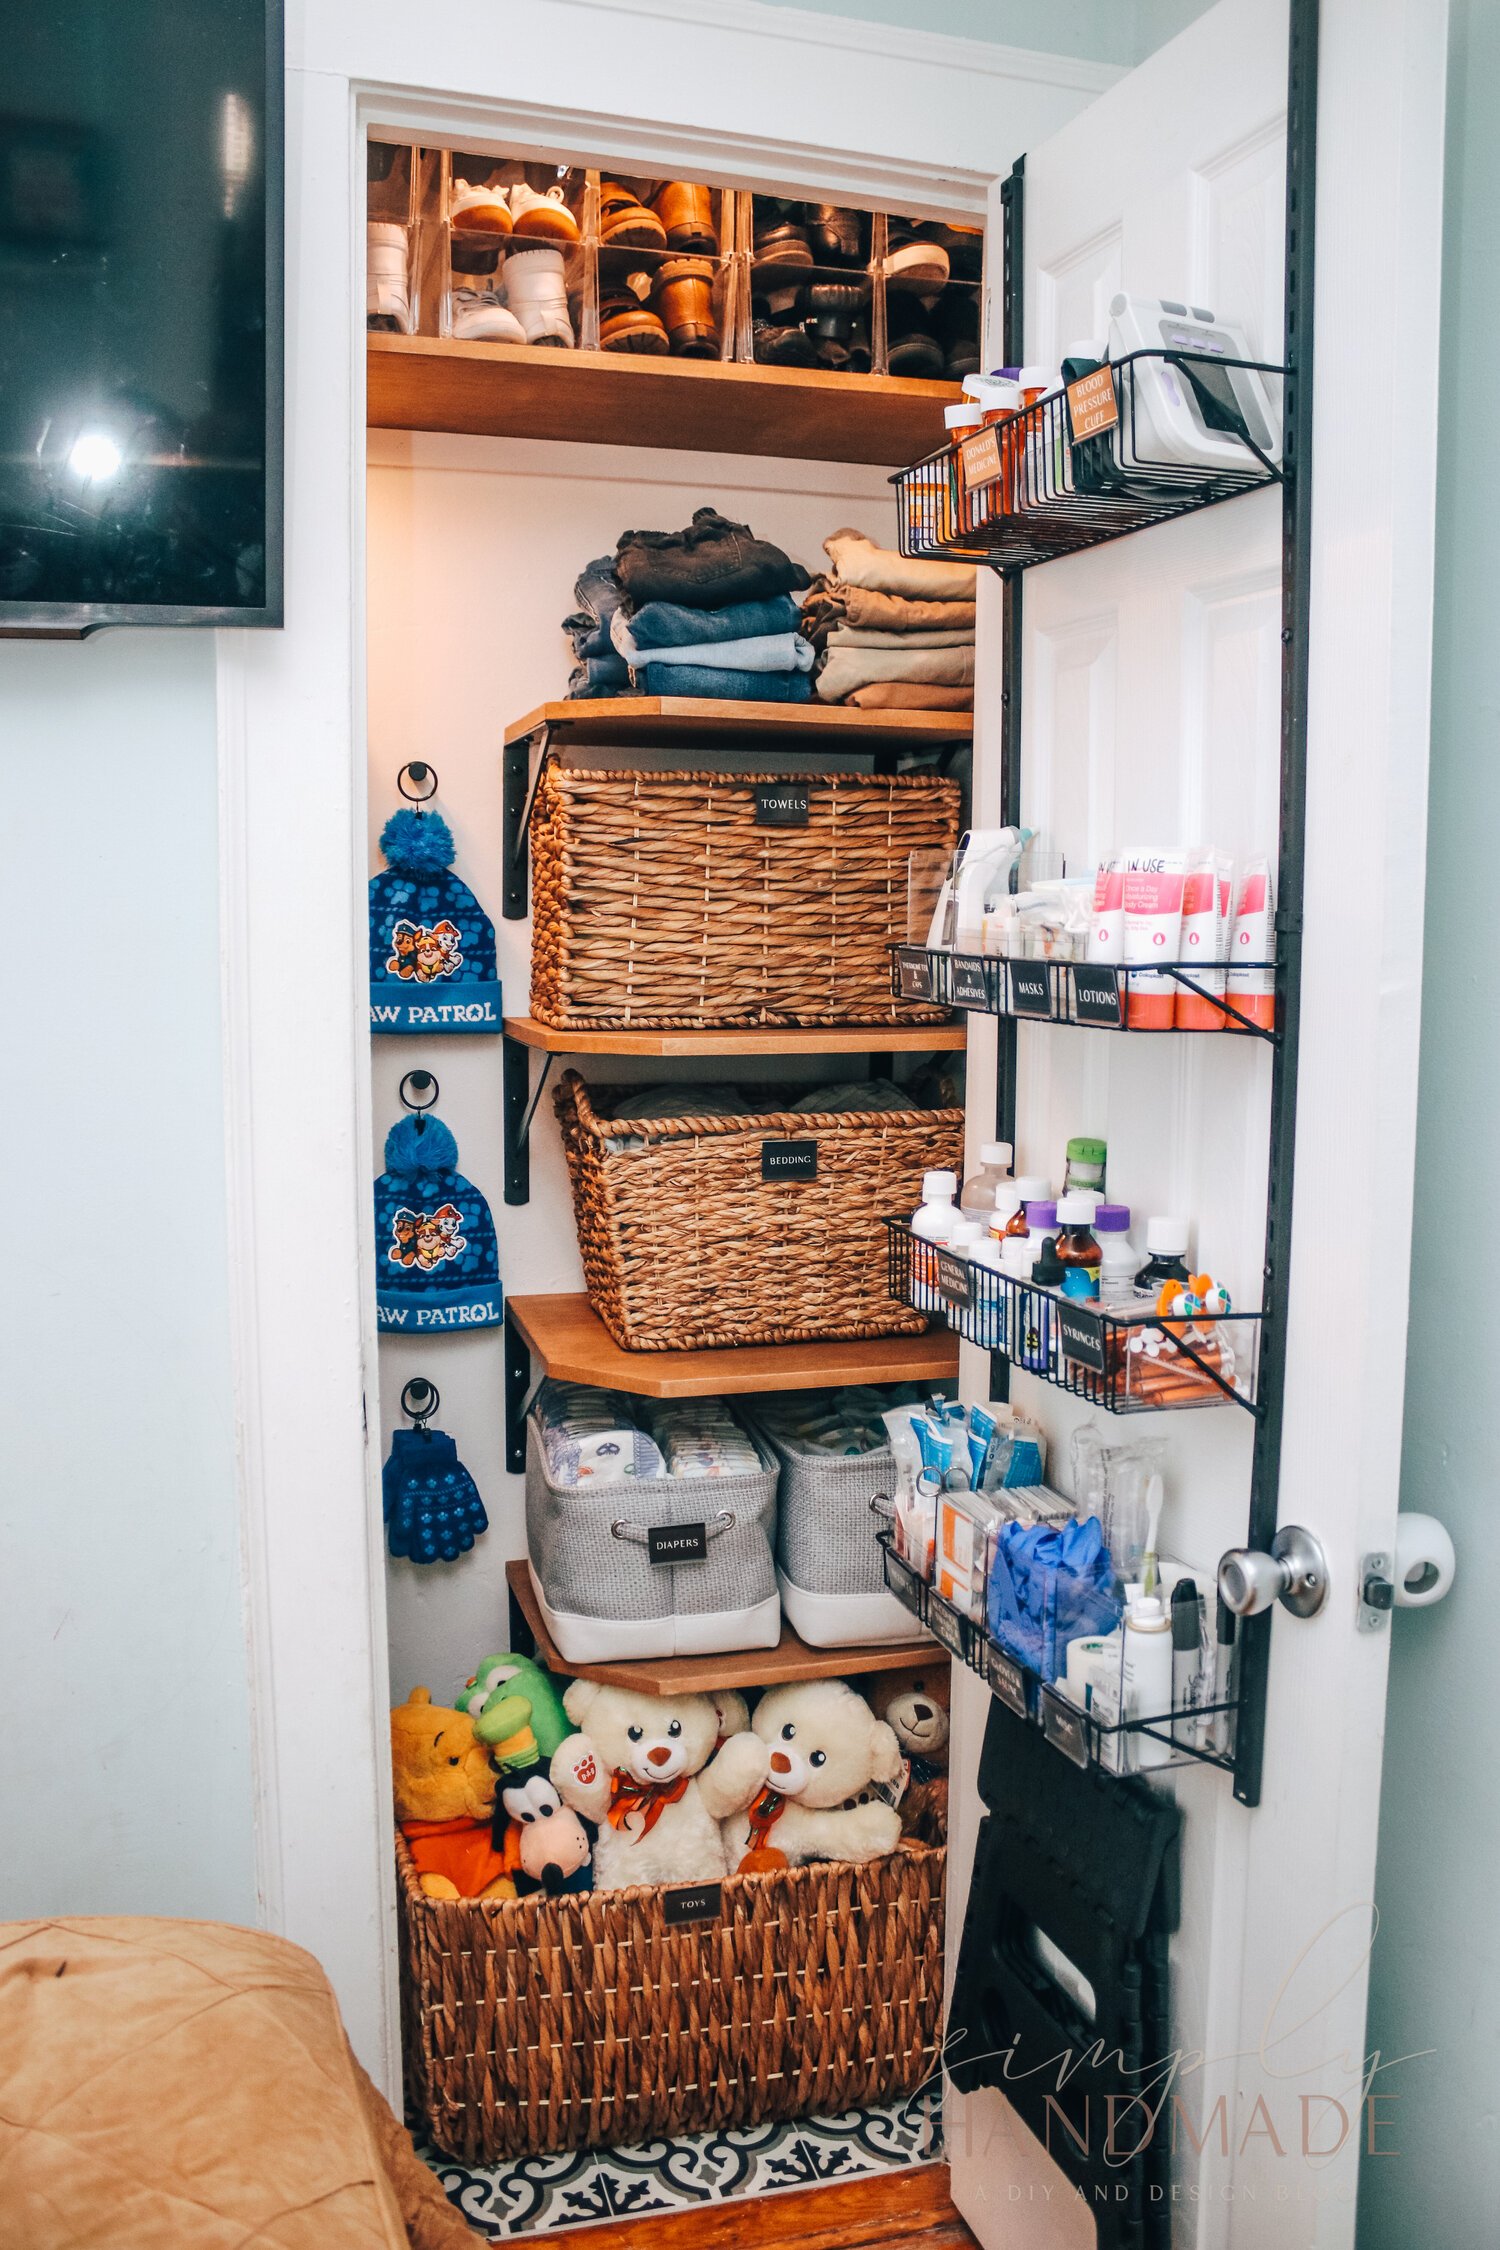
How to Install Vinyl Flooring in a Rental (That You Can Remove!)
For the Closet Makeover, I wanted to change up the floor. The original floor was not nice (to say the least), but since I live in a rental, I couldn’t make any permanent changes. I browsed the internet and either the temporary flooring options were 1- Too expensive, 2- They didn’t look nice, or 3- Didn’t give off a realistic feeling (they tend to looked more like a giant sticker), and that’s not something I wanted at all. I came up with what I think is a solution to this problem. I do want to note that this is a low traffic area. These floors will not have the wear and tear of higher traffic areas like an entryway or hallway, so I was comfortable with this process. Keep reading if you want to know how I did this!