
DIY Conversation Heart Piñatas | DIY Valentine's Day Gift

DIY Conversation Heart Piñata | Valentine’s Day Gift
I wanted a festive way to celebrate valentine’s day with my littles so I decided to give them these little mini pinatas, and let me tell you they LOVE them!! I came up with this idea over a year ago and I’m so excited to finally share it with you guys! Oh, did I mention I got pretty much all of these materials from the dollar tree?! WIN, WIN!!
Materials Needed For This Project:
Cardboard box
Crepe Paper
Gluestick
Masking Tape
Heart Template (download it FREE below)
Width Template (download it FREE below!)
Ribbon
Tools Needed For This Project:
Scissors
Blade/Box Cutter (optional)
Glue Gun with Glue Sticks
Herb Scissors (optional)

This is a true-to-size heart printable to accompany the following blog post: simplyhandmadestudios.com/blog/diy-conversation-heart-piatas. This is a free PDF download, only.
Instructions:


The first thing you’ll need to do is download and print out the heart template (linked above) or print out a heart you find online. After you’ve found the the perfect heart, cut out two of them out of regular ‘ol cardboard. I found It was easier to use a blade then go back with scissors to perfect and refine the heart.
I taped the hearts together then cut any overlap so they’re virtually identical to each other.

Next, I cut out 2 inch cardboard strips and ran my fingers across to make it more pliable.
After you have enough strips to go around the perimeter of the heart, I taped the strip on the outer part of the heart and left a 3ish inch gap on one side. I’m using painters tape for this tutorial but I really recommend using masking tape - I just used what I had on hand.

I taped on the other side until I had something that looked like this. As you can see, I left the hole at the bottom then I took a separate piece of cardboard, cut it to the size of the hole and set that to the side.

Next, I moved onto the fringe. I got some crepe paper from dollar tree and used a herb scissor to make the fringe. It was pretty cool but I couldn’t layer up the crepe paper. I had to cut it in a single layer which can be very time consuming.

Once I had the fringe cut, I took some glue and pasted the fringe on the heart working from the bottom to top. I tried using the Dollar Tree glue sticks and lemme tell you it sucked.. so I ended up gluing the crepe paper with rubber cement.

When I was done with the front, I moved onto the sides like you see here.

Make sure to glue fringe to the small cardboard piece, too! Don’t forget that.
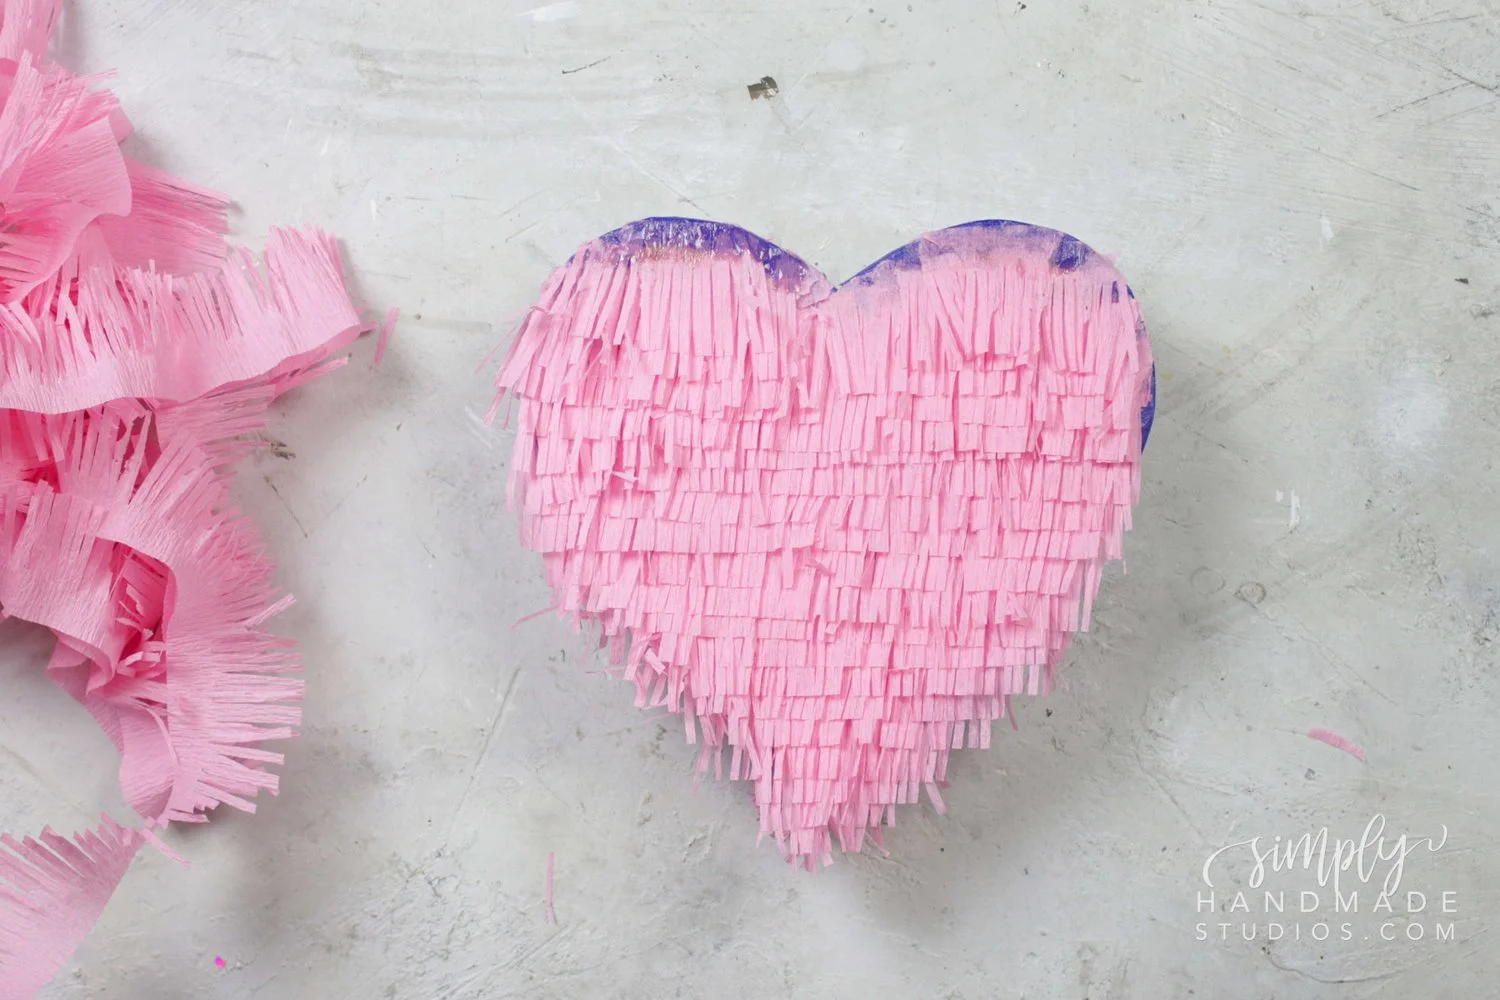

I didn’t like how you could still kind of see the tape in the front so I glued some extra fringe on the top edge and then re-added fringe to the top. You can see how it looks like with this one right here. In hindsight, I would have glued these first THEN went in horizontally on the side.

After the fringe is done, I glued letters down making phrases I wanted in the front of the heart and also made one large and one small ribbon piece for each of the hearts.


I glued the larger ribbon on the top then went ahead and filled the piñata with a little candy and decorative paper that I also got from dollar tree (score!).

I took the cardboard piece, glued on some tape to the fringe side then glued the skinnier ribbon to the top. I then glued the tape to the inside of the heart which forms the flap and used some scotch tape to tape the flap shut. I didn’t use a heavy duty tape since I want it to be able to open easily. that little ribbon is what they’ll pull to open the actual piñata. I also put some scotch tape on the sides as well for a little added security and that was it!!


I hope you like these conversation heart pinatas! I think they’re really cute for Valentine’s Day and it’s super affordable!! As a bonus tip, you can totally propose to someone using this.. (HINT: check out the video!!). I also brought my sons along to show off these pinatas and aren’t they just SO ADORABLE?! Ugh, I love them.
PS: These are totally adorable for parties, bridal showers, mother’s day, etc. not just valentine’s day! Take this idea and run with it. :D
