
DIY Balcony Makeover | How to Build a Pergola (Renter Friendly)

How to Build a Pergola (Renter Friendly)
If you want to see exactly how I made this pergola (while 34 weeks pregnant!!) check out the video below. The blog post lists specific dimensions and links to what I used.
Last year, I collaborated with The Home Depot to build a renter friendly pergola for our balcony. At the time, spring is right around the corner and I wanted to get the balcony nice and ready for the warm weather! I live in a NYC rental apartment and I’m not able to do anything permanent outside, so I came up with a renter friendly pergola with a privacy wall that’ll protect us from the harsh sun, and give some privacy since I can practically give my neighbor a high-five when I step outside.


There are several steps that I had to consider before the actual construction of the pergola could begin. The first was to remove everything from the deck and actually clean it! I’ve never lived in an apartment with a deck so I had no idea what it would take to maintain it. It’s not something that the landlord does, so it was up to me. Click here to find out how I managed to clean and de-clutter my deck WITHOUT a pressure washer!
Project Difficulty: Intermediate-Advanced
Materials Needed:
(4) 4x4x10 Pressure Treated Timber (I cut mine down to 9 feet)
(4) 2x6x12 Pressure Treated Timber
(1) 1x6x8 Pine (for base)
(4) 5-gallon buckets
(1 pack) 3-inch Deck Screws
(8) ½ in. Galvanized Anti-Turn Washers
Black Outdoor Paint (optional)
Outdoor Stain (optional)
(8) L-Brackets - (2 pk) 2.0” and (2 pk) 2.5”
Tarp (to protect the ground)
Tools Needed:
Drill and Drill Bits (½ in. spade bit, ½ in.)
Pencil or Marker
Wrench

Before building the pergola, I measured and cut the pressure treated posts down to the size I wanted (9 ft.). I also cut down some scrap wood to fit at the bottom of the bucket that will hold the post and brackets in place.
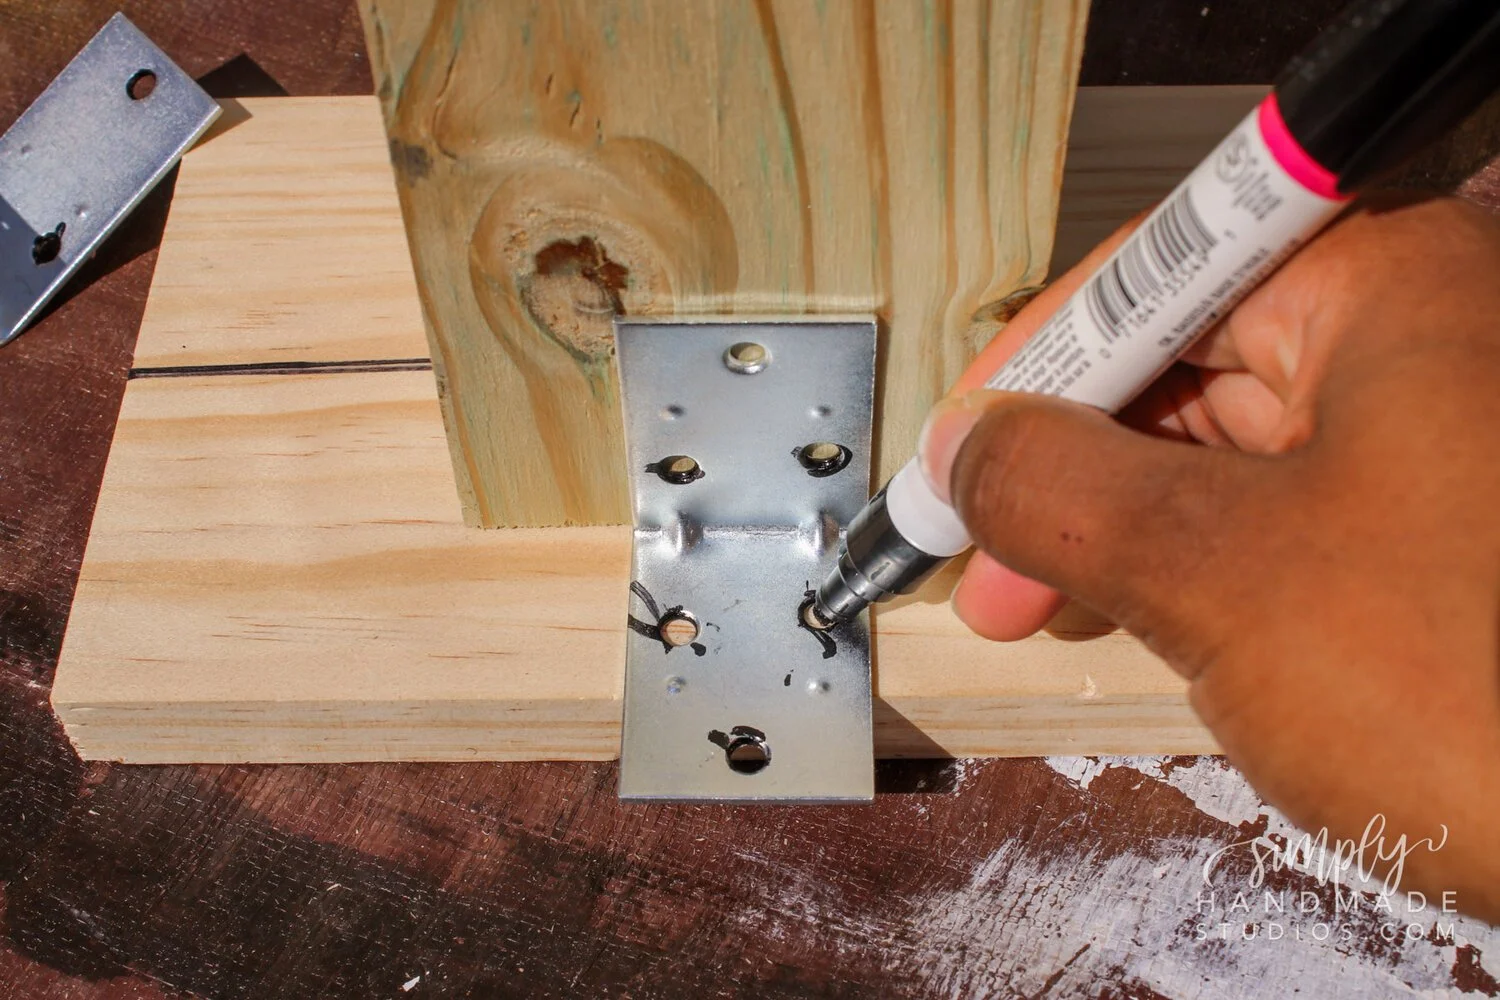
Next, I moved onto assembling the pergola posts! Since the actual structure is renter friendly, that means I can’t drill gigantic holes into the balcony, so I decided to use 5-gallon buckets, screws, and cement for the base of the pergola. First, I cut the 1x6 pieces down to size that fit the bottom of the bucket pretty snug. I then found the center and placed the 4x4 post on top, marking where I needed to drill the pilot holes on the 1x6 and the 4x4. I ended up using 2” brackets on the shorter side of the wood and 2.5” brackets on the longer side. I did have some overhang on the 2” side, but that was okay with me. You should be able to let the base stand on its own, without it leaning or toppling over after you add all the screws.

Once the 4x4 post was secured to the wood base, we leaned the bucket on a stool to form an angle and slid the bucket to the bottom of the base. We drilled in 3-inch deck screws to the center and 1 ¼” wood screws to either side of the base of the bucket, drilling directly into the 1x6. We have the bucket tilted so we could put pressure in order to keep the bucket flush to the base. This doesn’t have to be perfect. It’s okay if its a bit crooked - we’ll fix that later.


After securing the base to the bucket, we poured about 3-inches of water in the bucket then poured the fast setting concrete inside. We kept adding cement until the mixture became peanut-butter like (about 1 bag). We made sure the posts were level by using a post level and I held the 4x4 posts in place for two minutes. After the two minutes, the post was in the correct position and the cement cured in about a half hour. I was pleasantly surprised with how well this worked! We left roughly 4 inches from the top of the bucket to accommodate for flowers later on.

The next day, I wanted to sand the posts and the support beams so I don’t have to bother with sanding and painting the pergola once it’s completely built. I did the same with the rafters and pre-stained them brown (using the outdoor stain & sealer) and painted the 12-foot support beams black (using the outdoor paint).


Before adding the support beams, I wanted to decorate the bucket so it doesn’t necessarily look like an actual 5-gallon bucket! My husband removed the bucket handles by cutting the plastic and I used a putty knife to put an initial layer of outdoor friendly spackling in the grooves to fill them in.

Once the spackling had time to fully dry, I went over the top of the bucket again as if I’m frosting a cake. I also made sure I went over the rim as well. Just know the rim will be very delicate so you might want to opt out of placing the spackling there.

After everything was dried, I primed the bucket with an outdoor primer & sealer then spray painted the bucket with stone textured spray, then painted a green-ish, gray-ish color once the stone spray paint was dry. The posts will most likely be a bit “dirty” from the painting so I just wiped them and will touch them up later when the pergola is fully constructed.

After the cement, plaster and paint had enough time to dry, I placed the buckets on each corner of the balcony. I also wanted to make sure that the pergola was going to be even so I took a long piece of wood (the uncut 6x12) and stretched it across the length of each side, placing a level in the center. This will help me to determine if all of the beams were even before moving onto the next step.

Once I was confident that the posts were even, my husband and I added the support beams. Because I wanted a more modern look, I decided to cut the beams at the end of the posts, leaving no overhang like a traditional pergola. We marked the sides, cut them down to be flush to the posts, and we set the beams in place temporarily using deck screws. My husband and I took on either side in order for us to add the temporary screws evenly. This definitely a two person job for sure! These beams were very, very, very heavy!
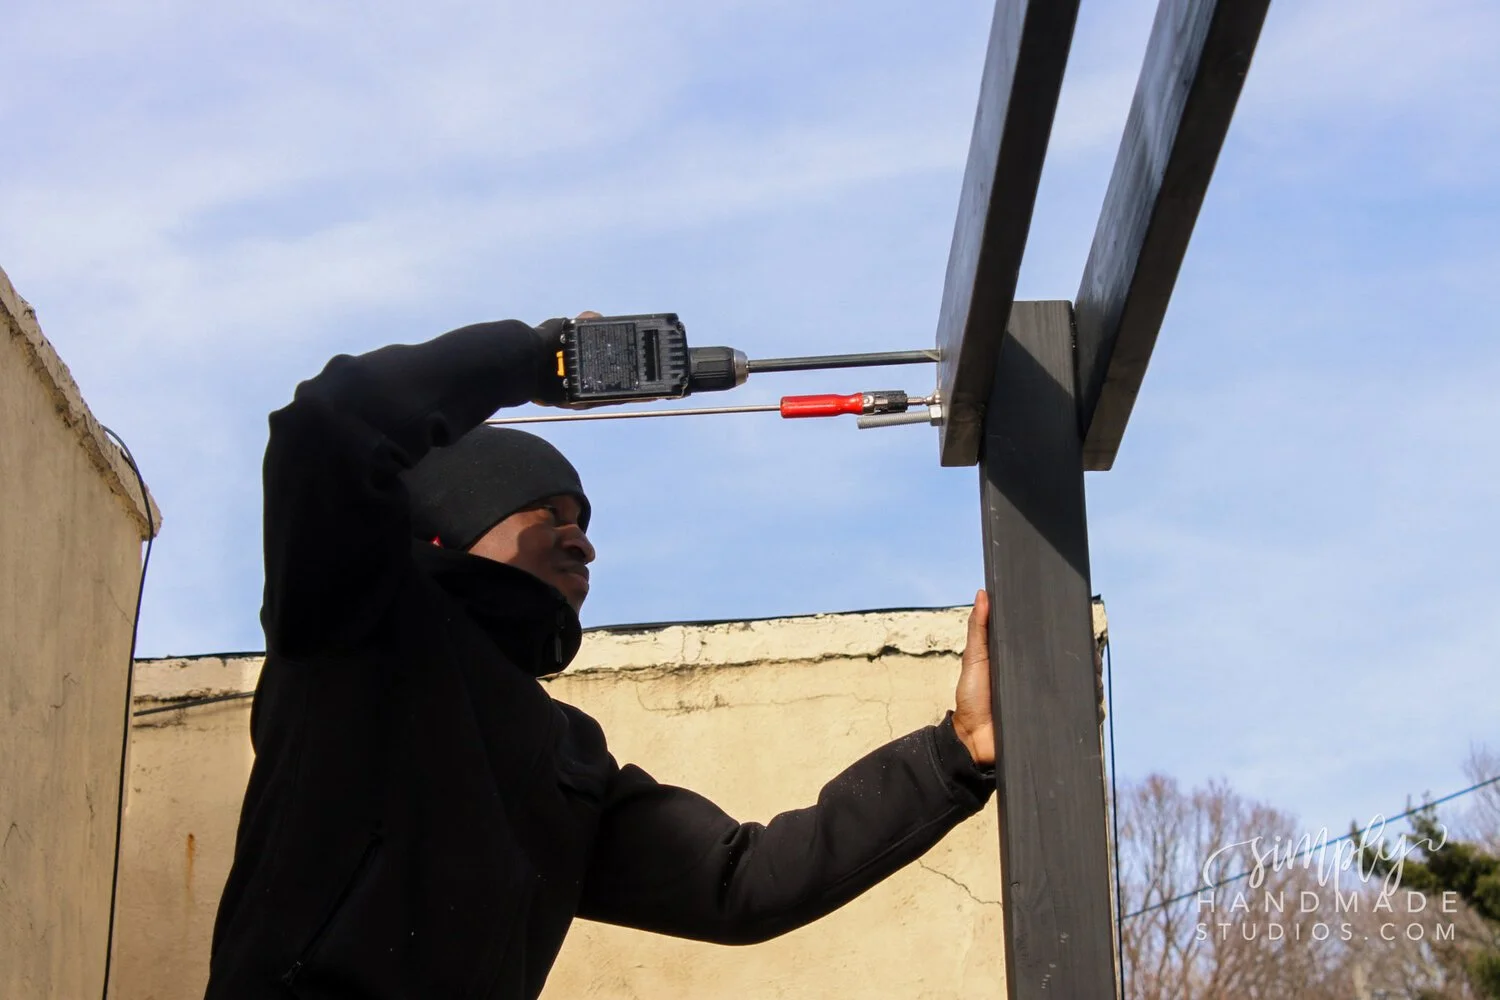

Once we have both sides of the beams in place with temporary screws, we added the permanent 8-inch bolts. First, he drilled the holes where we wanted them with a ½ inch drill bit, followed it with a ½ inch spade bit, then finished with the drill bit. We notice that midway through drilling with the drill bit, it stopped going through, so we sped up the process using the spade bit. My husband then hammered the bolt and anti-turn washers from the outside to inside of the pergola.
We made sure the square portion of the anti-turn washer was aligned with the base of the bolt, and when fully through, we added the washer and nut to the opposite (inside) end and tightened with a wrench. Once the bolts were fully in place, we removed the deck screws and repeated the same steps for the other two posts and beams.
Next, we moved onto the rafters. We added them on top of the support beams by drilling the deck screws straight into the wood. It’s usually good practice to drill a pilot hole, but we notice the end of the screws seem to have a “self drilling” aspect so we tried it and didn’t experience any wood splitting, so we opted to not drill a pilot hole when we used the deck screws. Also, just like the beams, I made sure they didn’t have any overhang by cutting them down to size.

Because the balcony is relatively small, we spaced the rafters roughly 4 inches apart - we used the leftover 4x4 timber we used for the posts as a guide. I love this look overall, but you can definitely customize it to your liking! We also carried the rafters down to the side of the pergola on the side immediately facing the neighbor/dividing wall.
Step 2: Building The Privacy Wall
Materials Needed:
(2) Outdoor Blinds

Before building the gutter planter, I wanted to add even more privacy to the space so I went ahead and purchased outdoor blinds from Home Depot. They retract so I have the opportunity to let in some light (and maybe say hi to my neighbors), and also lower them if I want some privacy.
The instructions for the blinds were very straightforward and easy to follow. We installed these bad boys in about 40 minutes. They fit exactly to the beam we cut down (thank goodness!). I do suggest keeping the red tab that comes with the shade since that will help with the tension re-calibrate it.

I actually followed Home Depot’s blog post here to build a similar gutter planter for my space. The instructions are amazing along with video, so I didn’t want to re-write them here. The flowers we used are called Pansy’s.


I LOVE how this pergola came out. It’s definitely going to be an amazing feat for the summer, not only for my family but for hosting! If you’re interested in seeing how I styled this pergola, click here for the blog post!
