Staircase Renovation: Makeover Your Stairs for Under $80!
Staircase Renovation: Makeover Your Stairs for Under $80!
I wanted to make over my staircase since it was reallllyyyyy UGLY! Haha. I have no nice words for how the staircase looked before. I got the bug to redecorate since our entryway was the first thing you saw, but let me backtrack. The "entryway" is more of a landing on the top of our stairs cluttered with shoes and toys my kids regularly throws over the baby gate. It wasn't a good first impression so I decided to finally do something about it.
This is the very first installment of the entryway makeover series on this blog. I hope you're inspired to make over your space if it's as ugly and crusty as mine. haha. Before we get into this project did I mention I did all of this for under $80?!
Here's the price breakdown: Paint (3 cans $90 (plus $30 rebate)) = $60. Paint Edger and brushes $15 = $75 total! This was a total steal!
Materials Needed for this Project:
Porch and Patio Paint (your choice of colors)
Painter's Tape or Frog Tape (your choice)
Additional Tools Needed: None
Difficulty: Easy
I did quite a bit of things before I actually started painting the stairs. I made sure all of the following were done before moving into the painting phase:
- Cleaned the shoes and toys away from the landing
- Ensured the stairs were level and free from any debris
- Swept the staircase to remove dust and debris.
- Painted the surrounding walls and lightly sanded the banister and stairs to remove the glossy finish
- Edit: If you really want to ensure the stairs last a while, definitely prime with a shellac based primer (NOT a water based primer), this will make sure the paint stays on and doesn’t scuff.
Be sure to watch the video if you're interested in seeing this. Now that everything has been done, let's start painting the stairs.
So you want to begin your stairs renovation on a budget?
Let's get started!
I taped off the baseboards around the perimeter of the stairs and under the railing.
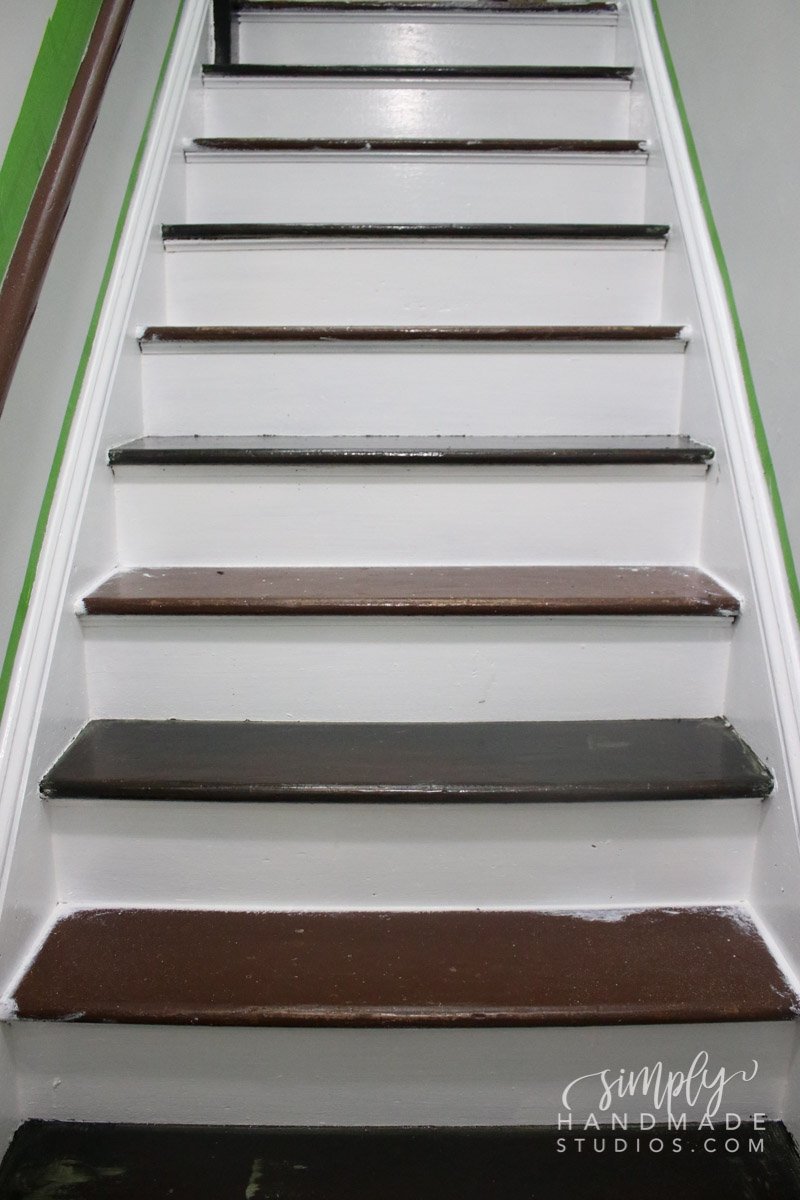
I painted the base boards and the front part of the stairs (risers). This is where it got time consuming. I had to do relatively thin layers of paint here and had to wait 4-6 hours to add another layer of paint.
Notice how I have some white on the top of the stairs (treads) and in the corners. This just ensured I got the corners nice and good so the black can be nice and sharp on the stairs.
I decided to paint with this edger and I feel this is literally the easiest way to paint the stairs once you get the hang of it! I mean look how clean that line is! One thing that’s not great about the edger is if you have jagged or uneven edges, it will be so much more difficult to use. Another thing about the edger you should know is if you load it up too much, it will seep through and the lines won’t be crisp.
I went ahead and painted every other stairs which will allow us to still use the stairs while the paint is drying. After about 4 layers later, I let the stairs completely dry then moved onto the next set.
I needed a way to differentiate between the wet and dry stairs so I added some tape to help with this. I’d suggest using blue tape that’s a bit more gentle because that frog tape ripped the paint when I removed it. So frustrating.
Remember when I said the edger didn’t do too much clean lines since my stairs were stairs were bumpy and uneven so I ended up taping the stairs on the sides, painting black on top so that color can seep under then painted white on top. Doing this allowed me to have nice crisp lines.
Once that was all dry, the staircase was done!! LOOK at the difference some color can make!! I love how it came out.
I hope this inspires you to redo your entryway and I really hope this tutorial and YouTube video serves you well!
Let me know: Are you doing any home remodeling? I'm so curious to know!! Go ahead and comment below :)
PS: Want DIY Goodness in your Inbox?! Sign up for the email newsletter by clicking here! It's 100% free :D


