DIY Wedding Menu Template
DIY Wedding Menu Template
Having a gorgeous wedding isn't about spending big money.. I feel it's in the little details that come together to make up a beautiful wedding. This blog post will show you a DIY Wedding Menu Template.. where you can take this idea and tailor it to your event. Sure it may be tedious but if it can save you hundreds or even thousands I feel it's totally worth it!
Materials Needed for this project:
Acrylic Sheet - You can pick this up from your local hardware store. Be sure to choose a relatively thin sheet. Nothing too thick.
Leafing Adhesive
Leafing Sealer
Metallic Sheets (I used copper)
Paint with colors of your choosing (I used Green, Blue, Red, Purple, Pink, Brown, Tan, White)
White Paint Pen
Menu Printout (check out this post on how I designed my invitations if you want to know how to make your printout)
Rotary Cutter
Box Cutter
Ruler
Painter's Tape
Instructions:
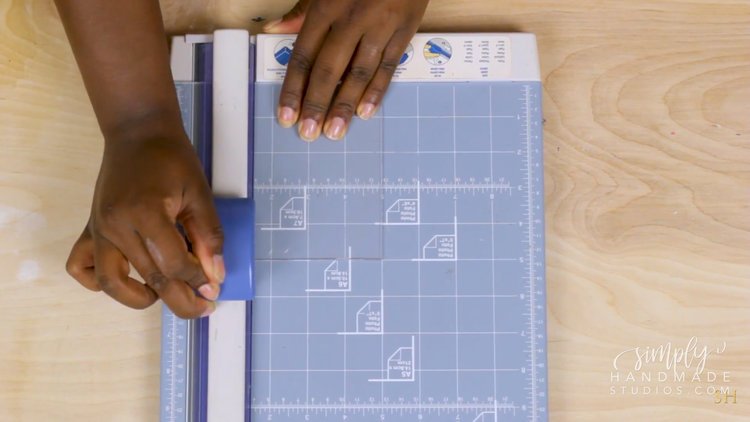
I started out by taking this piece of acrylic and cutting it down using my rotary cutter. I chose to cut it down to a 5x7 piece. After I scored it a few times, I took my ruler and a utility knife and scored it some more. With the scoring, I was able to get a clean cut.
I took my wedding menu I created in InDesign and taped it to the back of the acrylic. If you want to know how to make this document, please refer to this blog post where I show you how to make something similar to this.
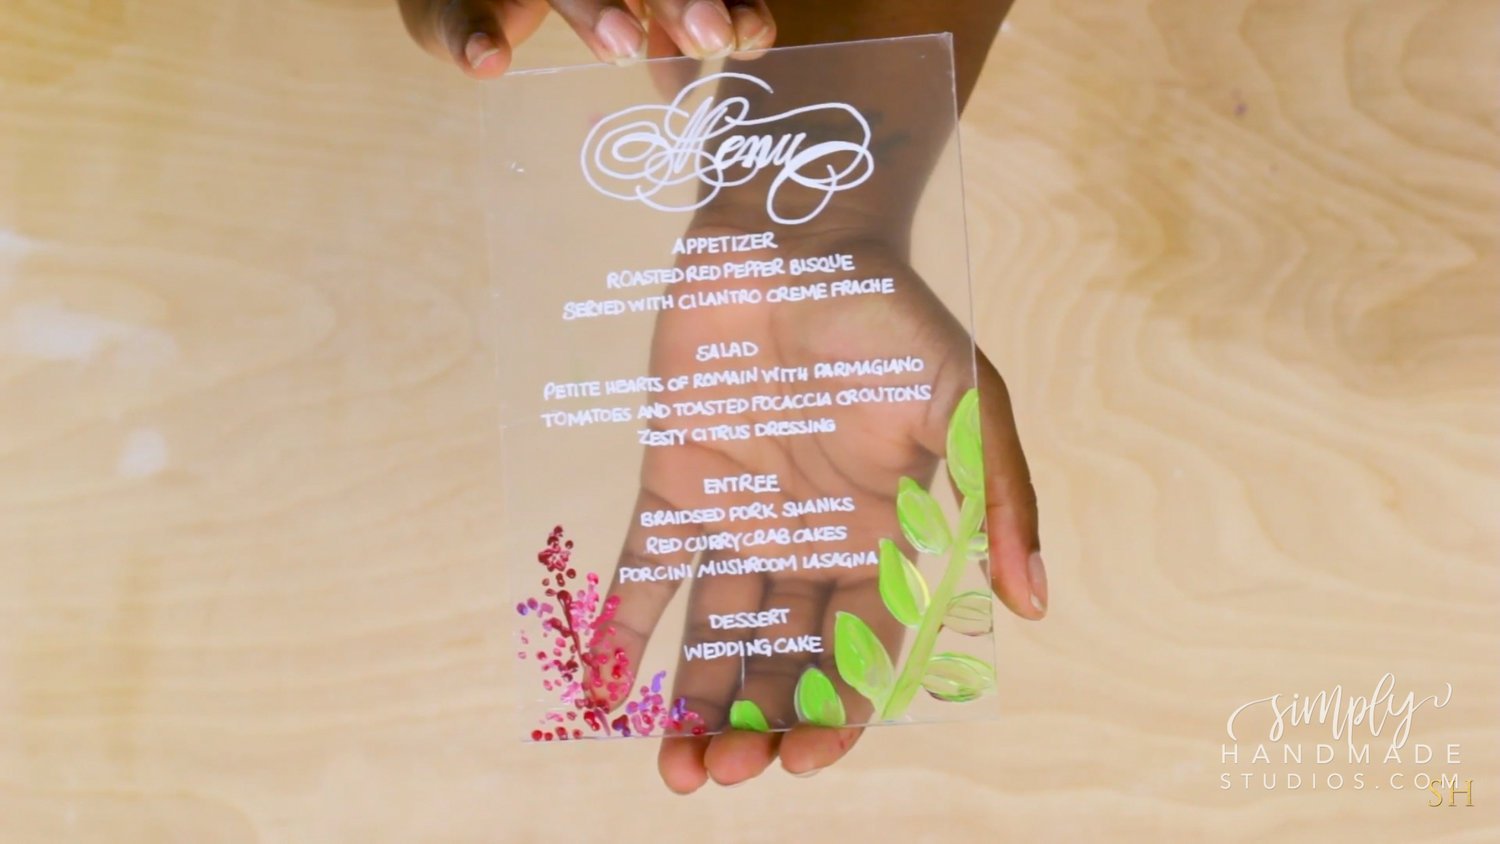
I a thin white paint pen and began tracing the words. I love using paint pens because you can just wipe away the words you don’t like and start over.
After the words were dry, I went ahead and painted the design with regular acrylic paints. I used a dotting technique for this plant on the right and tried my best to match the colors of the leaves on the left by incorporating greens, reds, yellows and browns.
Once I had the painting the way I liked it, I let it dry then added some leafing adhesive.
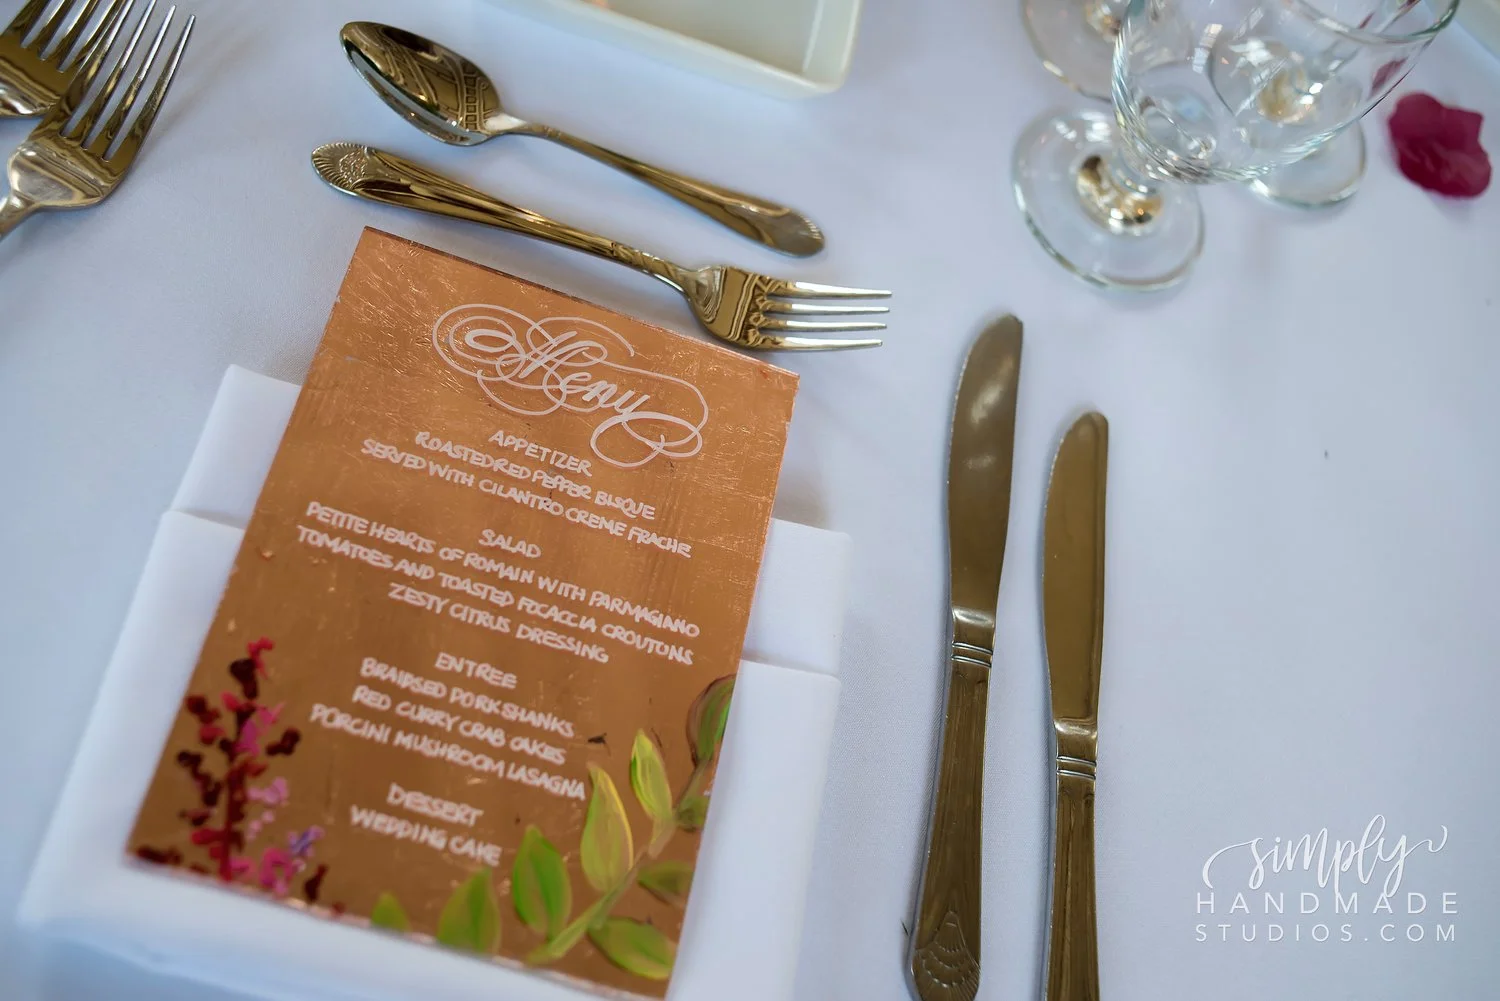
I let the adhesive dry then carefully added the copper leaf/metal sheet. I wiped away the excess and I had a gorgeous wedding menu!
Love how I made these but want to see it in action? Check out this video:
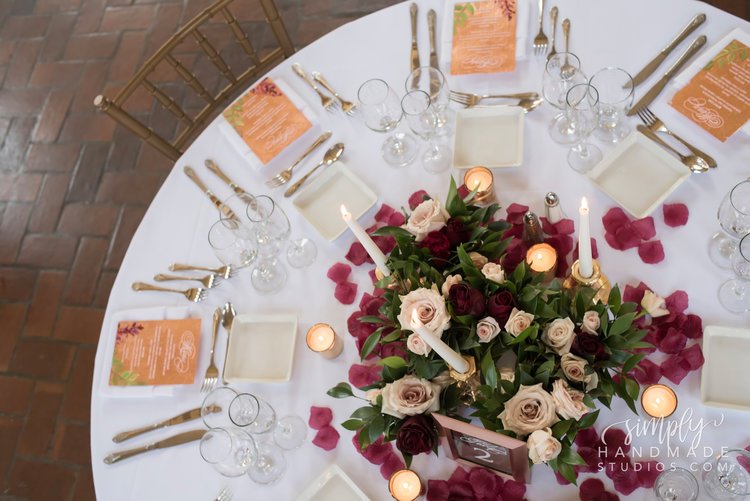
Here are a few snapshots of the menu's in action. Don't forget to share this post or Pin on Pinterest to help other brides!
I LOVE how it tied everything together on the table! To see how to make this tin can centerpiece, check out this blog post.
Here's another version of the wedding menu minus the fancy acrylic. Head over to Michaels to grab some recollections pearl paper to get a nice shimmer on this menu! Remember to read this blog post to find out how to actually design this menu from start to finish.
How GORGEOUS is this?! Like I said earlier, it's the little details that will elevate your wedding and bring it to the next level! Check out this post to find out how beer bottles and wine bottles can transform into a gorgeous centerpiece!
Special thanks to Snug Harbor (@celebratesnugharbor) for the beautiful venue and Adena from @studioAimages for the gorgeous, gorgeous photos! they're definitely worth checking out and following if you're getting married!!
